Activation Guide
Step One
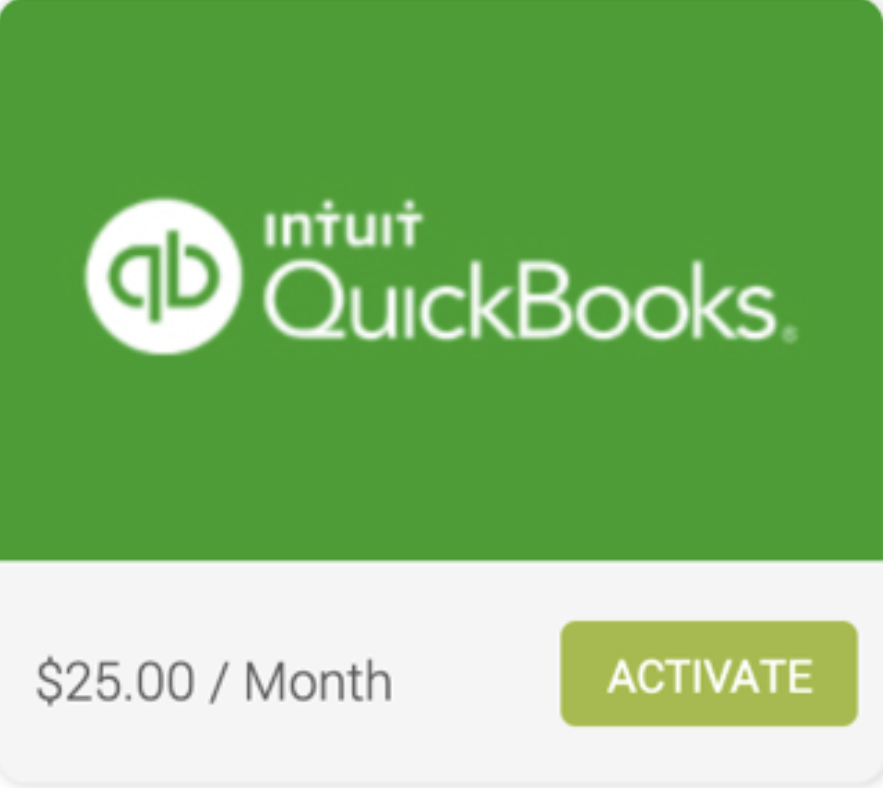
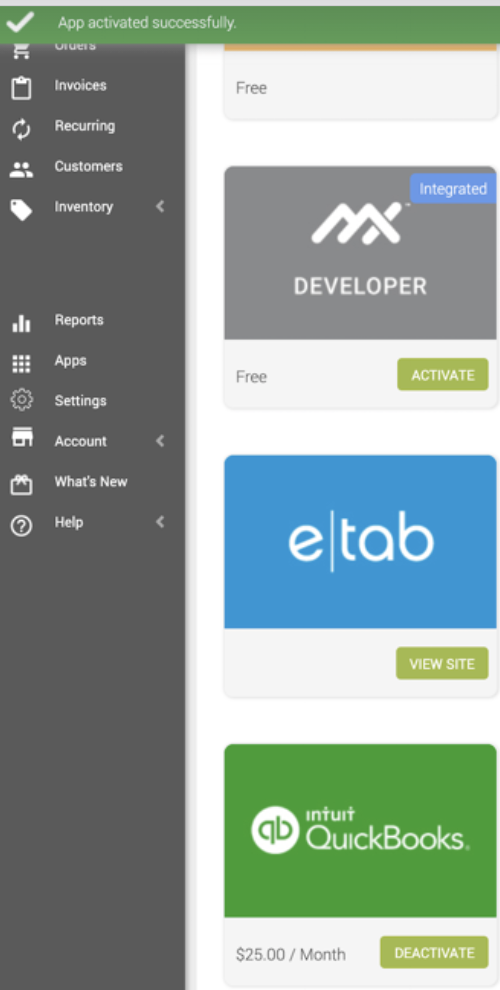
The QuickBooks tile may be found within “Apps” on the left-hand navigation of MX™ Merchant. To activate QuickBooks, click “Activate” on the left-hand menu.
Step Two
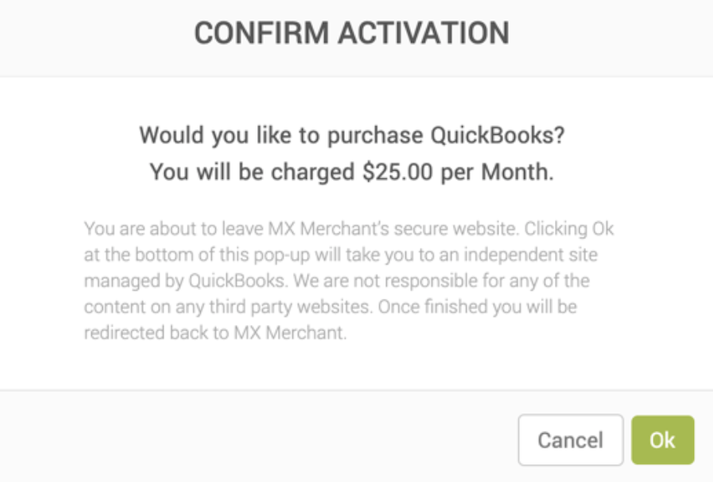
Next, confirm activation and agree to any fees displayed by clicking “Ok.”
Step Three
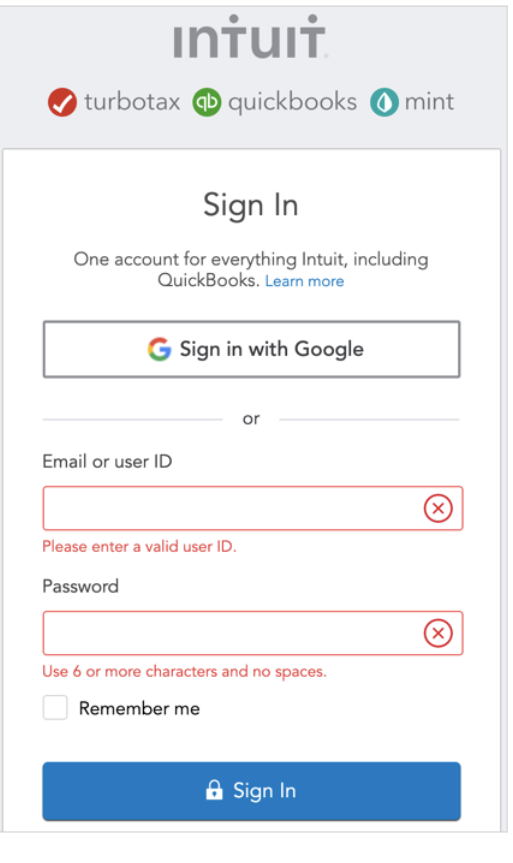
If you are not actively logged into QuickBooks, you may be presented with the following Intuit login screen.
Step Four
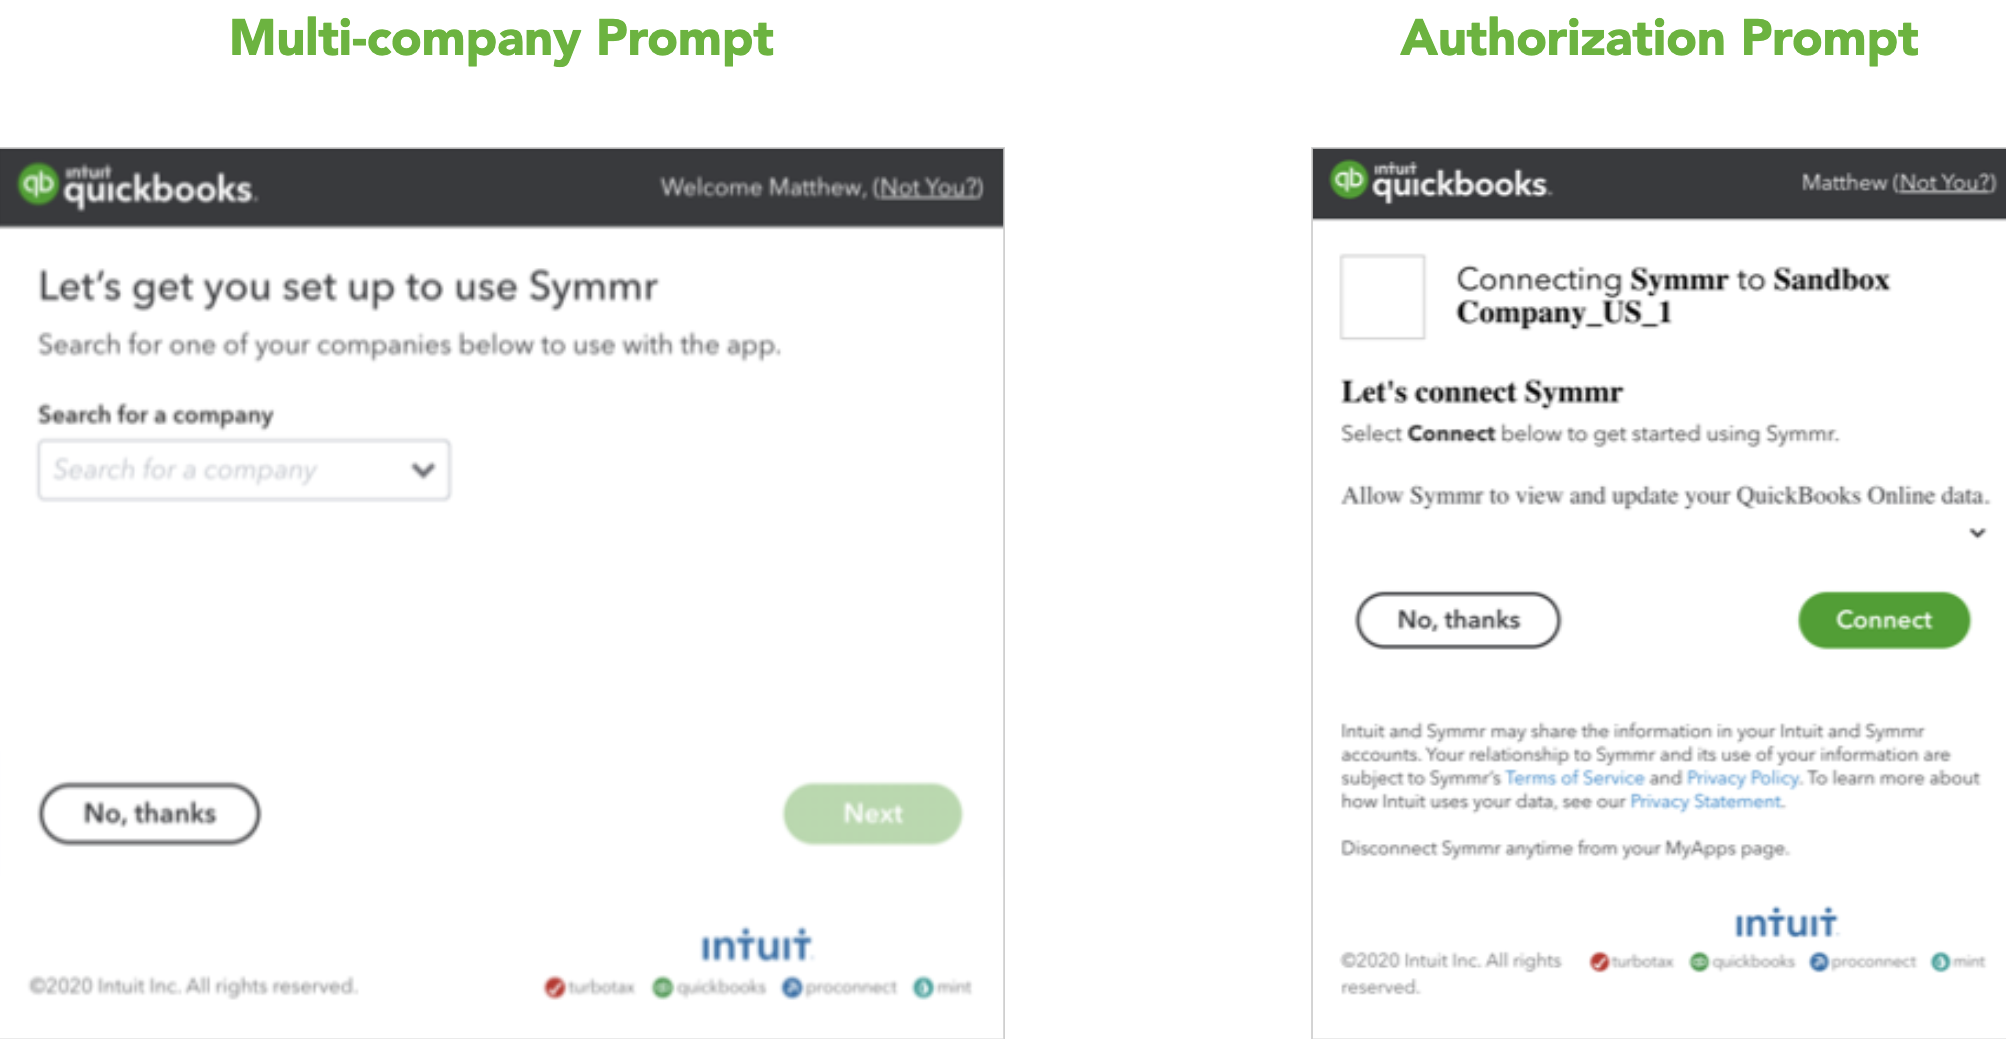
Next, you will be prompted to authorize the “Symmr” application for your QuickBooks company. Please note the multi-company prompt/dialog box will only appear for users that have access to a multi-company account.
Step Five
After authorization is complete, you will be redirected to MX™ Merchant, and a green banner will appear indicating the application is successfully installed.
Payment data, once settled, will sync within 24 hours along with customer and invoice data.
Step Six
You may view the details of the synced data in MX™ Merchant by choosing “Settings” from the left-hand navigation and then QuickBooks. Choose the appropriate month and the record Id, record type (customer, payment, or invoice), Sync Date, Sync Status, and a message, if applicable, will be displayed for each record and by month.

Step Seven
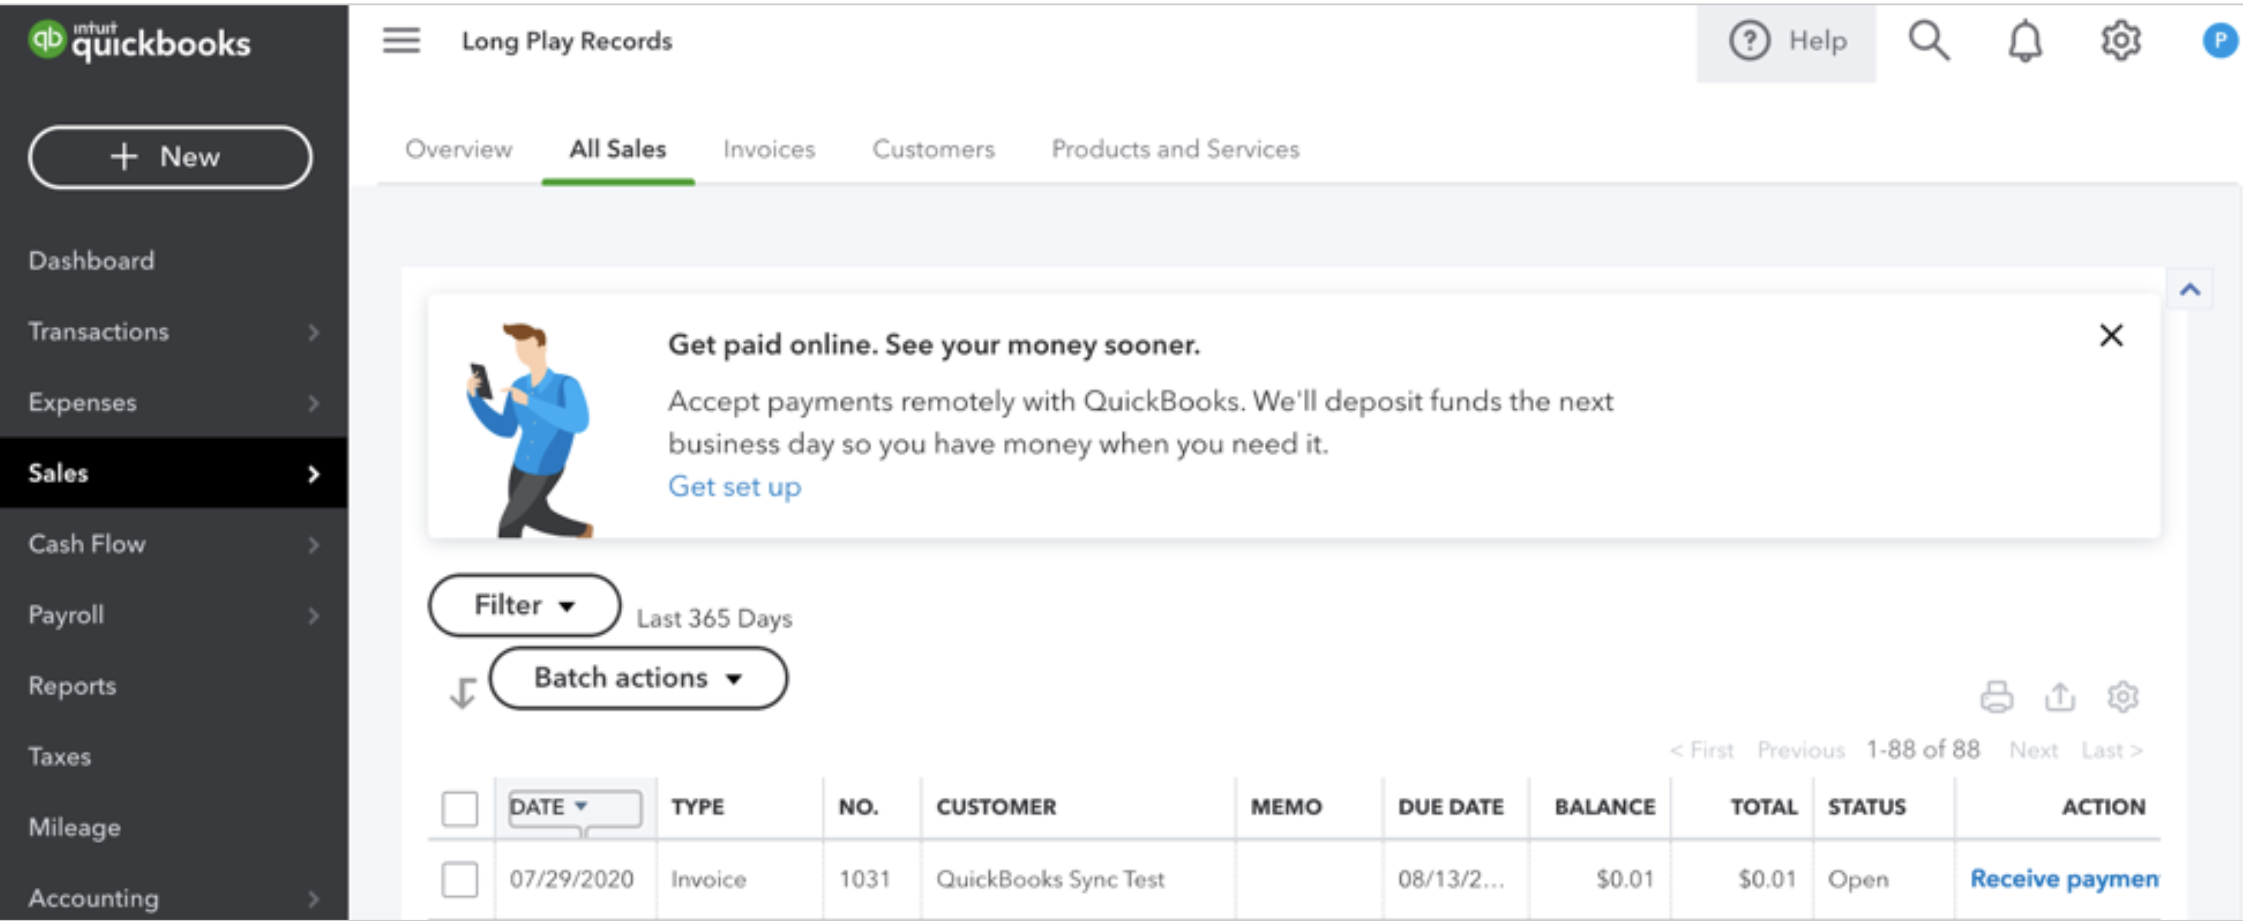
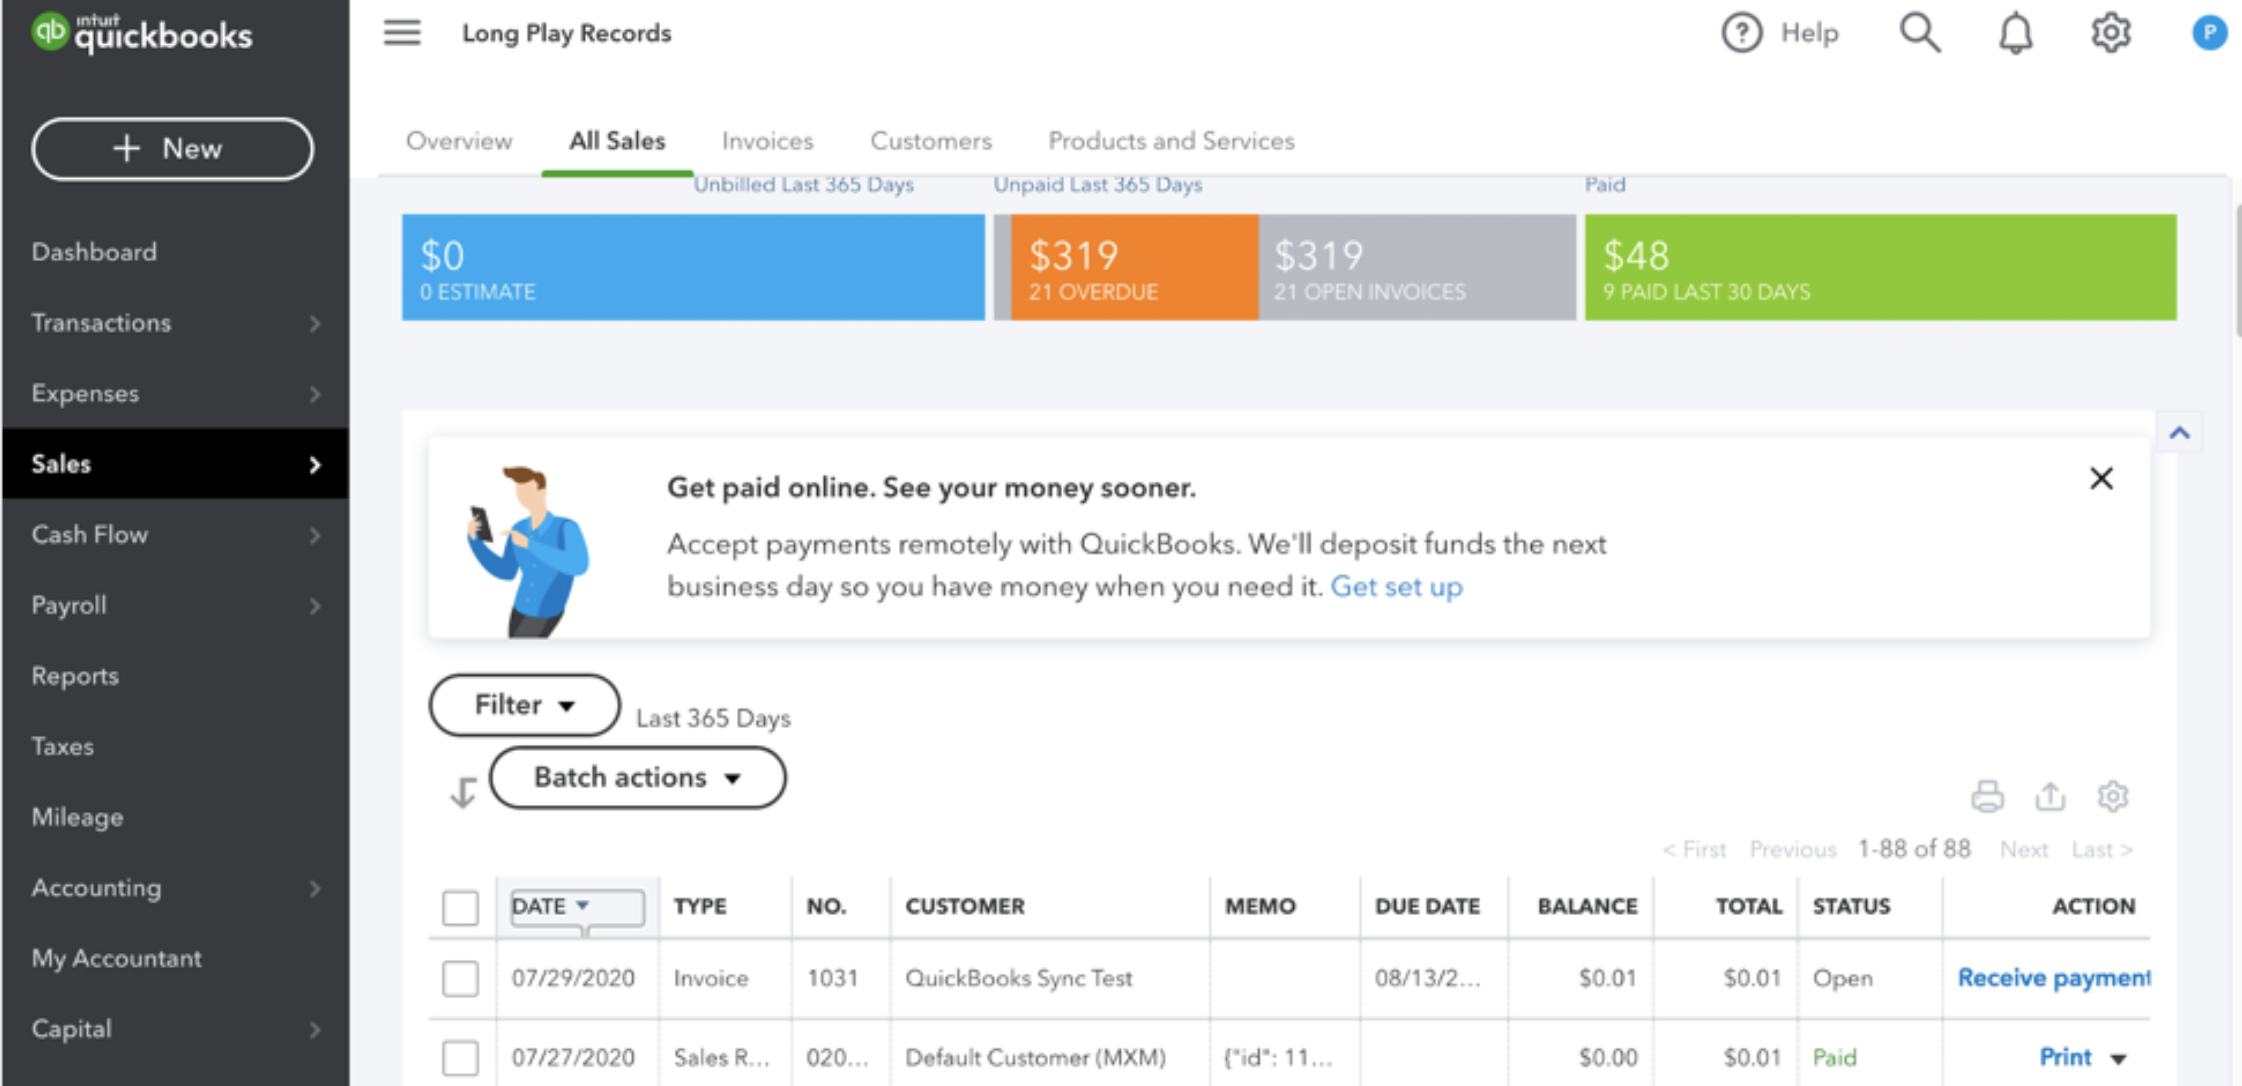
The Sales, All Sales module in QuickBooks will show the synced data from MX™ Merchant including Date, Type, No, Customer, Memo, Due Date, Balance, Total, Status, and Action.
Step Eight
If a customer was not added or is not associated with the payment, the customer will be listed as “Default Customer MXM,” as shown below.
Video
To review a video of these instructions, click below.
Updated over 4 years ago
