Transactions

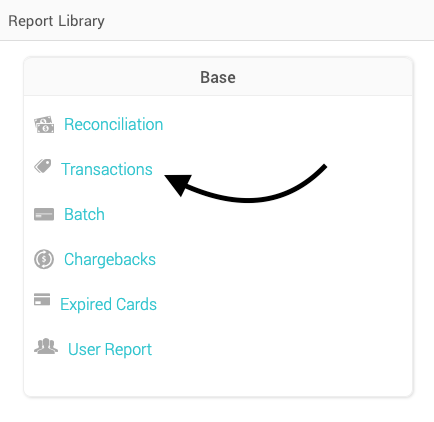
The Transaction report shows the same information that can be found on the batch report when you drill into a batch. This report just shows the transaction level detail so if you're tired of clicking around to find a payment this report is for you! Select Reports on the left-hand menu to view a list of all reports, within the Base tile select Transactions.
What You'll See
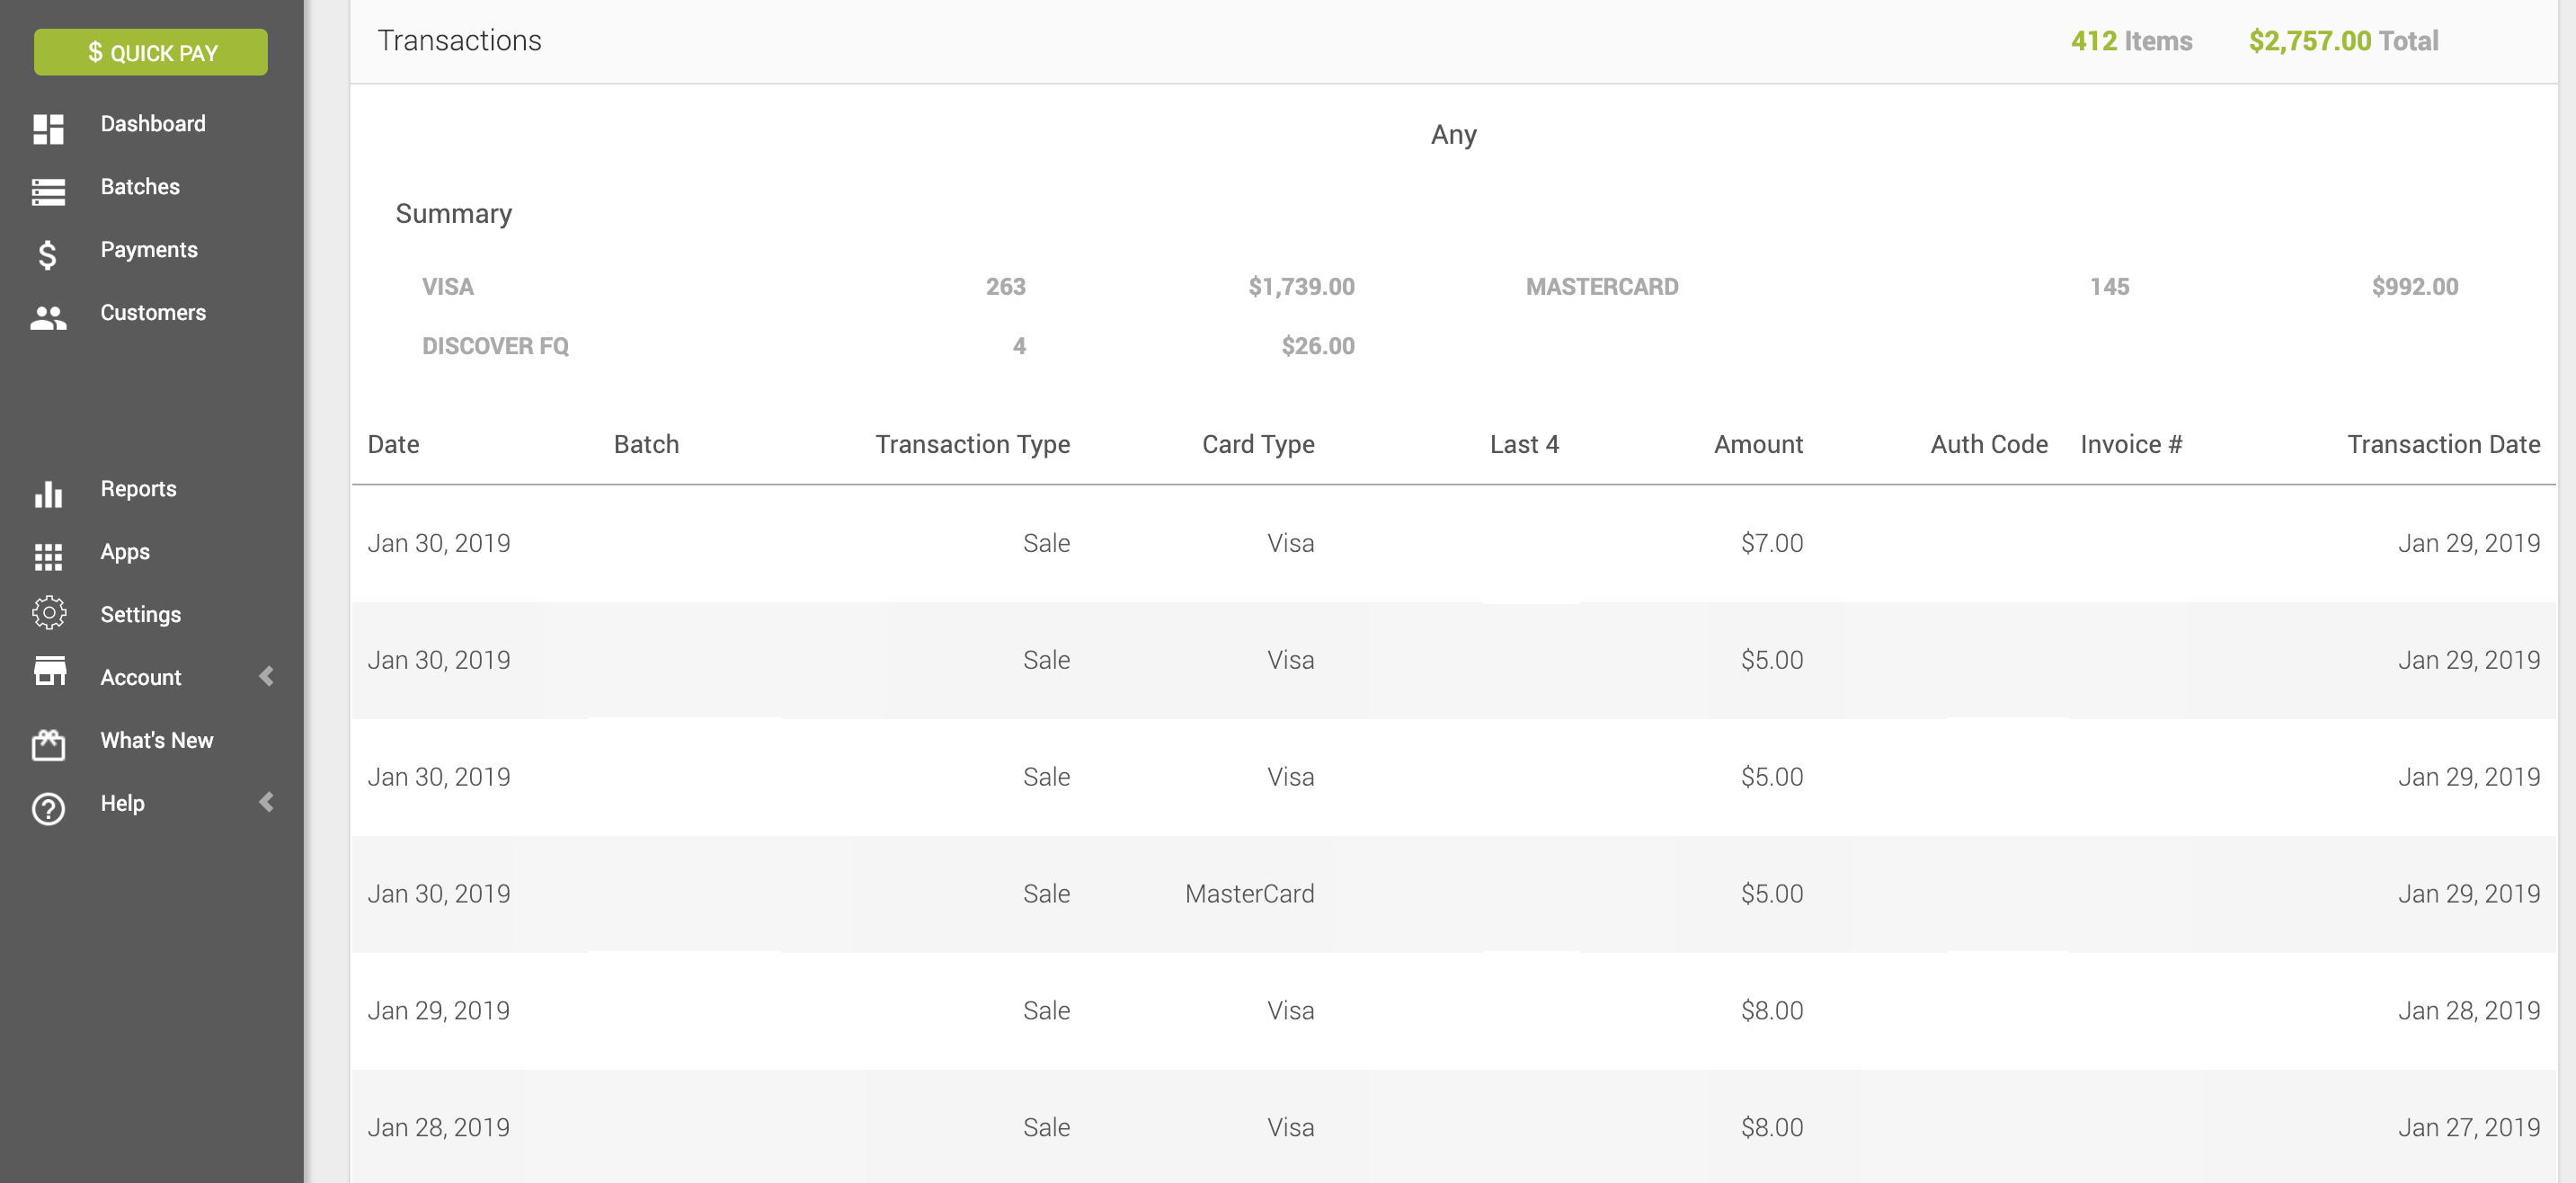
Your selected time period will be centered at the top. For each card brand present within this time period, the transaction count and values processed per brand are displayed.
Transaction Detail
This is a full list of all transactions. Please note it is the same information that is found on the batch report in a different format. This menu is shown in the image below.

On this new view you will see the following columns:
- Date - date the batch was settled
- Batch Number - systematic number to uniquely identify each group of transactions
- Terminal ID - if the transaction was made on a stand-alone terminal the ID will appear here (As of now this is only available for TSYS)
- Transaction Type - if the payment was a sale or refund
- Card Type - the card type: Visa, MasterCard, American Express, or Discover will show here
- Last 4 - card number last 4
- Amount - total dollar amount of the transaction
- Auth Code - unique code provided for the payment during confirmation of funds
- Transaction Date - date the transaction was taken
Search, Filter, Export and Print
To locate a specific batch or payment use the search box in the upper right. To search, simply type the Last 4, authorization code, or terminal ID you are looking for and hit enter.
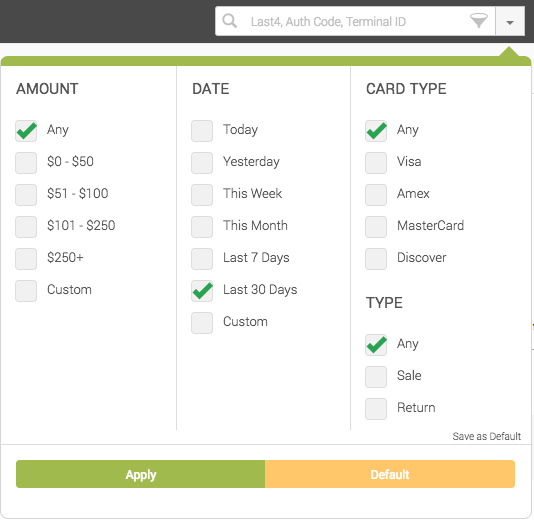
To access the filter, select the down arrow to the right of the search box. Select the criteria you want to filter on and click Apply. Please note, these filters will only be applied if you click the green Apply button at the bottom of the display, clicking outside the box will cancel your changes.
This report is defaulted to show you the last 30 days. To reset your search criteria click default and the Apply button. If you want to set your own defaults check the boxes you would like to filter on, then click Save as Default in the lower right. Now whenever you come to the Transaction report, your filter options will already be automatically applied (this can be used for any of the filters).
To the right of the filter you will notice that there is also an export button that will export the current search and filter you have set into an excel spreadsheet and download it to your computer.
To the right of the export button is a print button that will take you to a new page to see a preview, if you're happy with it, click the print button in the upper right of the screen to select which printer you'd like to print to.

Updated about 7 years ago
