Activation, Setup & Login
Activation
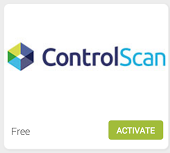
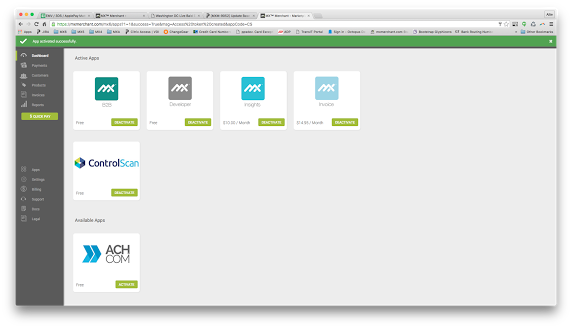
PCI Compliance can be updated through MX6 by installing the ControlScan app. To install the ControlScan App click Apps on the left menu, click the green Activate button found on the Control Scan tile.
Once you click on the Activate button the pop-up below will appear.
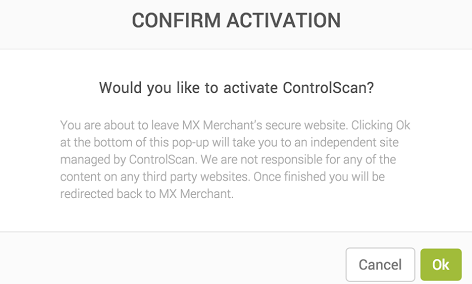
Clicking Cancel will take you back to the app store and will not Activate the ControlScan app.
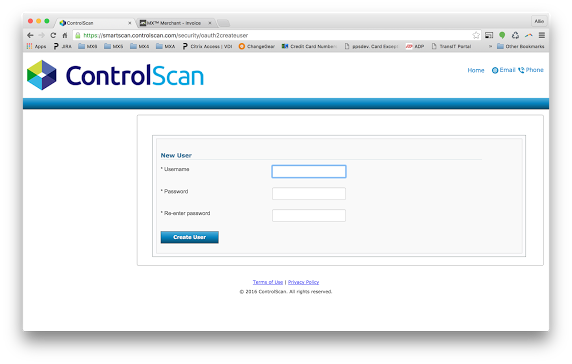
Clicking Ok will redirect you to the ControlScan landing page where you will be required to create your login information. This page will prompt them to create a new username and password then confirm their new password.
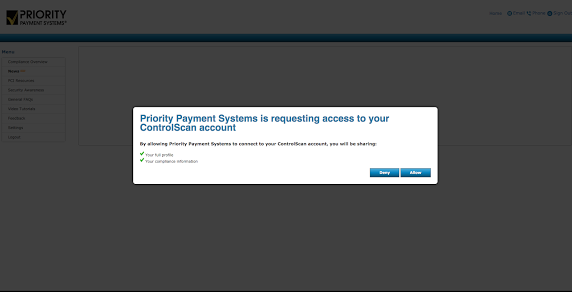
Once the required information has been entered you will receive the following pop up. This will pop up is asking you to Allow or Deny MX™ Merchant access to the user's full profile and compliance information in order to display their PCI status in MX™ Merchant.
Clicking Deny will not allow MX™ Merchant to allow re-access to ControlScan from the app and will have no data on PCI status which will result in the incorrect status information.
Clicking Allow will install the ControlScan app, display the most recent status information, create notifications for PCI expiration, and provide the ability for the user to re-access ControlScan from within MX™ Merchant.
Once Allow is selected you will be redirected back to MX™ Merchant where you will see the ControlScan app is now installed.
Initial Setup
Once ControlScan is installed it can be re-accessed in multiple areas of MX™ Merchant.
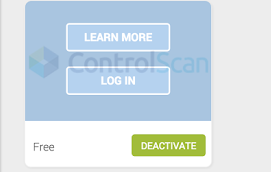
The first of which is to click on Apps in the left-hand menu, hover your mouse over the ControlScan logo within the app store and click Log In shown in the image to the right.
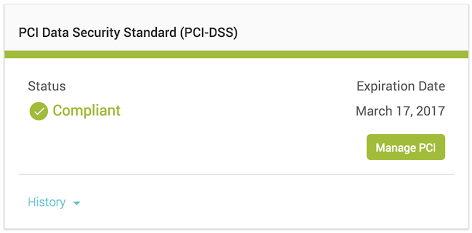
The second place that ControlScan can be re-accessed from MX™ Merchant is by clicking on Settings in the left-hand menu, select the Compliance tile, and click on the green Manage PCI button.
Step 1: Log In
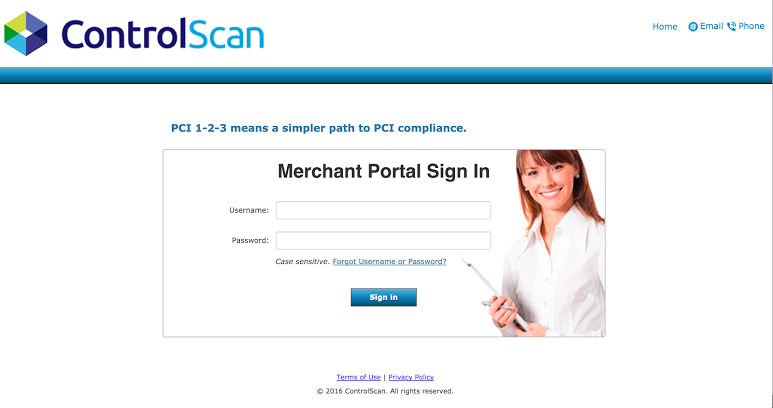
After clicking the Log In or Manage PCI button a new tab will open with the ControlScan page where you will need to enter the Username and password your originally created in the previous steps. Page will look like image shown on the right.
Once you enter the ControlScan Username and Password click Sign In if this is your first time signing back in you will need to go through the Initial 5 step Verification process that ControlScan requires.
Step 2: Enter and re-enter your email address
Then click the Next button at the bottom.
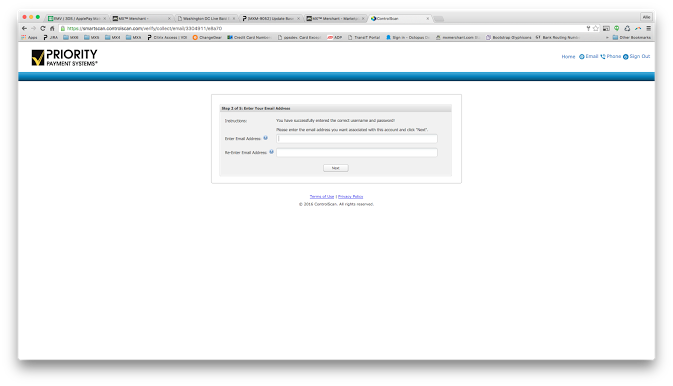
Step 3: Check Your Email
Now an email will be sent to the email address you entered in step 2.
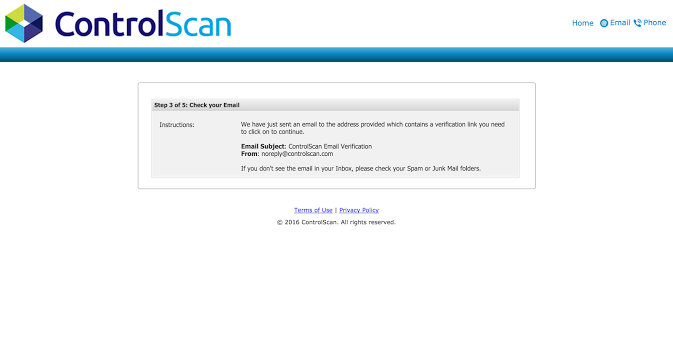
The email from ControlScan will look similar to the image below, you will need to click on the first hyperlink. Doing so will open up a new tab that will continue their verification process at step 4.

Step 4: Choose 3 Unique Security Questions
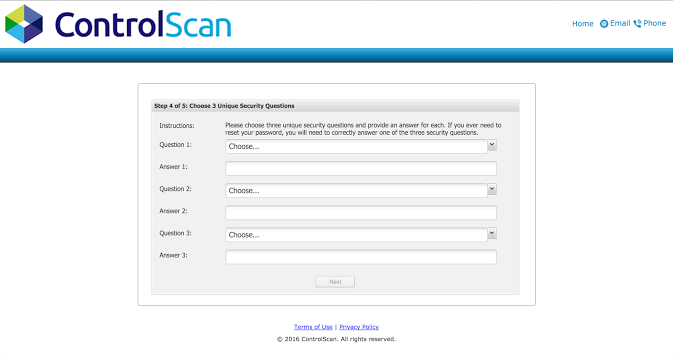
3 unique security questions and the responses are required in order to move to the next step.
Once all of the questions have been selected and answered click the next button at the bottom of the page. You will then receive a 'Success!' pop-up that says “Your security questions have been saved. Click Ok to set your new password.”
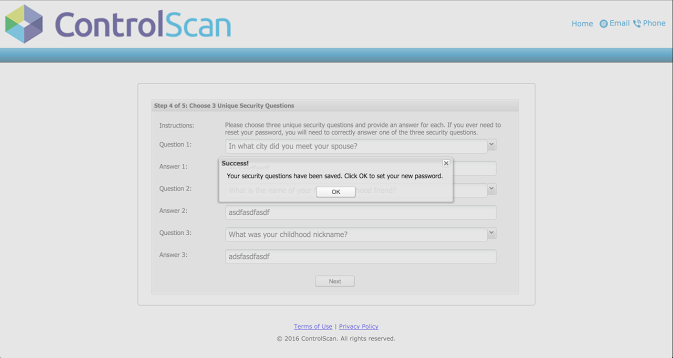
Step 5: Choose a New Password
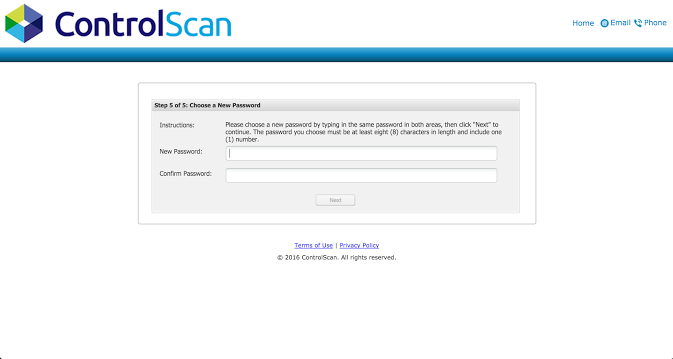
Once your password has been updated and the Next button has been clicked you will receive a Success! Pop up where you will need to click the Ok button again.
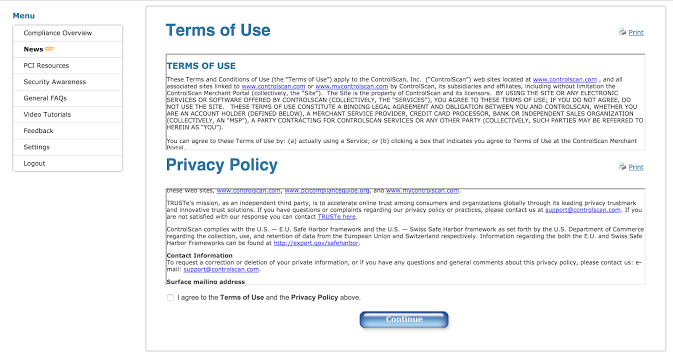
You are now within the ControlScan site and will be prompted to agree to the ControlScan Terms of Use and Privacy Policy. Click on the check box to the left of the “I agree to the Terms of Use and the Privacy Policy above” Then click the blue continue button at the bottom.
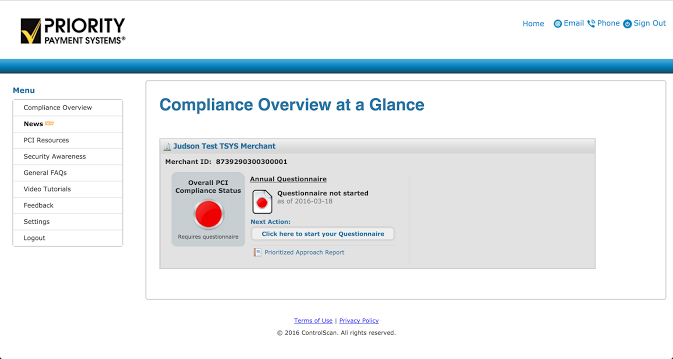
Now you will see your Compliance Overview at a Glance page. This page shows the Overall PCI Compliance Status on the left, and a Next Action button. Click on the Next Action button to start the Questionnaire if needed.
Clicking on the start your questionnaire will automatically determine what SAQ type is needed and will walk you through the SAQ process.
Updated over 5 years ago
